How to bleed your brakes | Autoblog Wrenched
In 10,000 miles of driving, you hit your brakes an estimated 60,000 to 70,000 times. Yet brake fluid is widely considered the most overlooked fluid in your vehicle despite being vital to your safety. Replacing your brake fluid is a simple procedure you can do yourself. Here are the tools you’ll need: brake fluid, specific to your vehicle, brake bleed pump, catch bottle, gloves, rags and safety glasses. I’m Larry Kosilla, pro detailer and trainer for the last fifteen years, but when it comes to what’s under the hood, I’m the student. Follow me as experts teach me how to diagnose, fix and modify cars on Autoblog Wrenched.
How often should brake fluid be changed?
It depends on the type of vehicle you drive, how you drive and the climate you’re in. The latter can be a really big factor on your brake fluid. There are different types of brake fluid with different boiling points, so be sure to replace the old fluid with the same grade, or the fluid suitable for your driving purpose (certain fluids are better for track duty, for example). Check your owner’s manual for more information specific to your vehicle. In our case, we’re using DOT 4, easily found at any auto parts store.
Two ways to bleed brakes
As I’ve come to learn, there are two main types of brake bleeding techniques. The two person method, known as “pedal bleeding,” is when one person is pumping the brakes, and the other is bleeding the brake lines at the same time. But today, I will learn the faster and easier one person method known as “pressure bleeding.” The goal when bleeding brake lines is to squeeze or push out the old fluid without allowing any air back into the system. If air does enter the system it can be a big problem.
How brakes work and why bleeding brakes makes a difference
Brakes are hydraulic, meaning when you step on the brake pedal, brake fluid which isn’t easily compressed under this pressure, transfers the force of the pedal through the brake lines, to the calipers, which squeeze the rotors and stop the car. If air enters the system, either through a bad brake leak process or leaky brake lines, then the force of the pedal compresses air and not the fluid. That’s why brakes can feel squishy sometimes and not stop as well as they should.
How to get started
Before opening the brake fluid cap, clean the surrounding area to avoid any dirt accidentally entering the system. Keep in mind that brake fluid will destroy paint on contact, so wear gloves, eye protection, and of course, cover the paint and avoid any drips. Now, unscrew the cap and use a turkey baster to remove the majority of the old fluid from the master cylinder. Do not remove all of the fluid. Leaving some fluid in the master cylinder will help prevent air bubbles from getting into the system.
Next, use a tool called a power bleeder, this tool uses pressurized brake fluid to force air and the old fluid out of your brake lines. Just pour in your designated brake fluid to the pressure tank, attach the screw cap to the brake reservoir, and pressurize the system with the hand pump to about 15 pounds on the gauge. With the brake system pressurized, it’s now time to move to a corner of the vehicle farthest away from the master cylinder. Attach the brake bleed catch bottle to the caliper lead valve, located on or near the caliper.
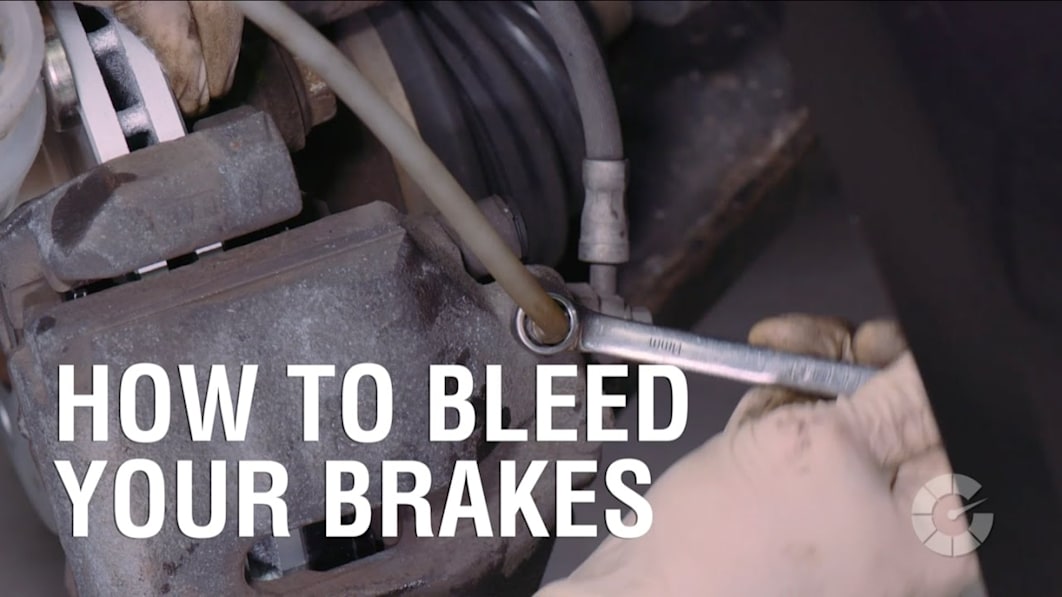
Now you always start with the caliper farthest away from the master cylinder. In our case, it’s the passenger side rear. Makeshift bottles can be created at home, but for ten to twelve dollars online, these bottle are airtight, have a magnet, and a safety line which is well worth the price. Depending on the style of wrench you’re using, it may need to be in place before connecting the hose. With the hose firmly attached, open the bleeder valve until you see the old brake fluid being pushed out of the system and into your catch bottle.
Watch for clear fluid and air, and repeat
Watch the brake fluid turn from on old brownish color, to a new or clearer color, indicating the line is full of new fluid. Then, close the valve, no need to over-tighten here, just snug. Make sure to check your power bleeder has enough pressure and brake fluid to continue. You’ll most likely need to give it a few pumps to add more pressure up to the 15 pounds. Be sure to check your power bleeder after each corner, you want to avoid running out of brake fluid during the bleed as this will inadvertently add air to your system. Repeat this process on the driver’s side rear, then the passenger side front, and finally the driver’s side front closest to the master cylinder, in that order. Keep in mind that some high performance calipers have more than one bleeder valve attached, so contact the manufacturer for the recommended bleeding sequence or suggested tips. When you’ve done all four corners, test your pedal to make sure it feels firm before driving.
If not, repeat the process until a solid pedal returns. Then, slowly release the pressure from the power bleeder, then unscrew the bleeder cap, top off the master cylinder reservoir with brake fluid and replace the cap. And remember, brake fluid contains polyethylene glycol, which is found in some paint solvents and it is extremely corrosive. Be sure to remove your gloves before getting in the car or touching the paint as you may have some old brake fluid left on them which would possibly turn a quick brake flush into a full repaint. With the project done, we have all the used fluid that now needs to be disposed of. Make sure you do it properly. Check your local auto parts store to see if they recycle, or if they can direct you to a local collection facility. For more how-to car repair videos, visit autoblog.com/wrenched. I’m Larry Kosilla from ammonyc.com, as always, thanks for watching.
Watch all of our Autoblog Wrenched videos for more tips on how to diagnose, fix, and modify cars from professional detailer Larry Kosilla. While you’re at it, check out Larry’s other car cleaning and maintenance video series Autoblog Details!