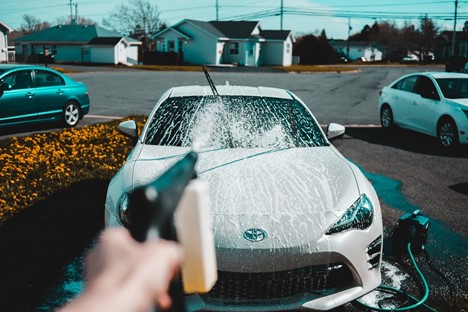
The Ultimate DIY Car Wash Guide

Between spring
mud and winter wear and tear, your car goes
through a lot over the course of the year. Keeping your car washed is a
low-cost way to protect its value and maintain its appearance. Contaminants
such as dirt, pollen, tree sap, air pollutants, and bugs can all damage the
finish and paint on your vehicle. We’ve put together the ultimate DIY guide for
washing your vehicle right in your own driveway. Continue reading
for steps on how to get your ride shining like new.
Step 1:
Gather Your Supplies
While you
can certainly achieve a clean car with a simple bucket and sponge, for the
ultimate car wash we recommend the following:
● A shady spot. The sun can dry your
car too quickly, leaving product residue.
● A hose
● 2 five-gallon buckets with grit guards.
Grit guards are screens you can place in your buckets to help hold any dirt or
debris at the bottom of your bucket.
● A microfiber mitt or auto washing sponge
● Microfiber detailing cloths
● One or two large microfiber drying
towels
● Wheel brush
● High quality auto soap
● Auto bug removal spray
● Wheel (rim) cleaner
● Tire shine
● High quality car wax or sealant
● Wax applicator pad
● Glass cleaner
Step 2:
Washing Your Vehicle
First, you’ll
want to rinse the entire vehicle off with the hose, trying to rid it of dirt
and grime before touching it with your sponge.
Next,
you’ll want to work in sections with the following two-bucket method:
● Fill 1 bucket with clean water.
● Fill 1 bucket with clean water and
add soap according to the instructions on the package.
● Wash one section of your car with
the soap water and sponge, then dip your sponge into the clean water bucket and scrub the
sponge on the grit guard. This will help to rid your sponge or cloth of any debris that may have come off of your
vehicle. In turn, this helps to avoid scratching your paint, leaving you with a
clean sponge for every wipe with soap.
Continue
with this method around your vehicle, focusing on the top of your car and
working your way down. Be sure to rinse each section with the hose once you’re
done with the soap and sponge to avoid the soap from drying on to your vehicle.
You will also want to dry each section with your large drying cloth to avoid water spots.
The
further down you go, the dirtier your car will be in most cases. You’ll want to
wash your wheels last, with your wheel brush, as these will
probably be the dirtiest part of your vehicle. Doing this will help to avoid
scratching up your paint with any stray dirt and grime.
Step 3:
Bug Removal
You may
notice that your typical soap and sponge isn’t up for the task
of removing stuck-on bugs from your vehicle. Follow the instructions outlined
on the bug removal product to remove any bugs left over after washing your vehicle.
Step 4:
Tire Cleaning
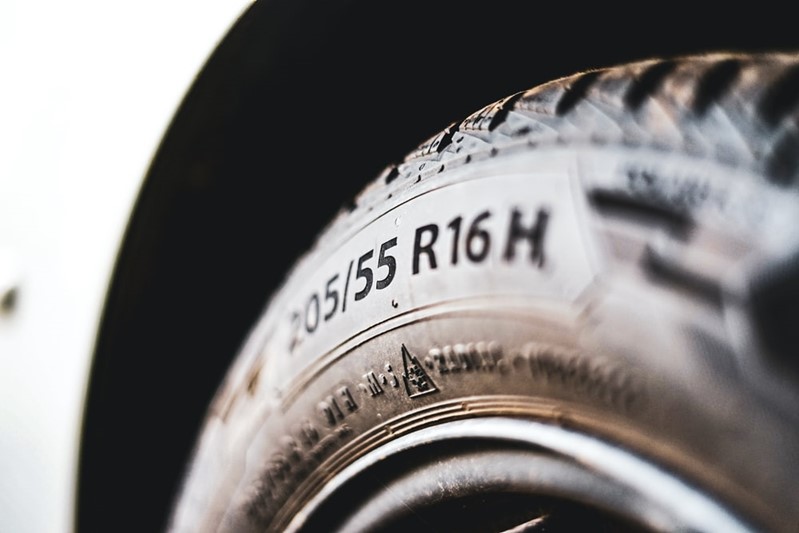
You’ve
scrubbed your wheels and tires with soapy water, but to give them the ultimate
shine you should use a rim cleaner. Be sure to follow the package instructions
for optimal results.
After
that, it’s time to apply tire shine to get your tires looking factory new! Be
careful not to get tire shine or wheel cleaner on your vehicle as its oily texture can be
damaging to your car’s paint. While you’re at it, now is a great time to check
your tire tread. To learn more about safe tire tread, click here.
Step 5:
“Wax on, Wax off.”

This step
may be the most important to increasing your vehicle’s paint longevity. According to the package
instructions, apply wax to the buffing pad and work the product onto your
vehicle. Buff off with a soft, clean microfiber detailing towel.
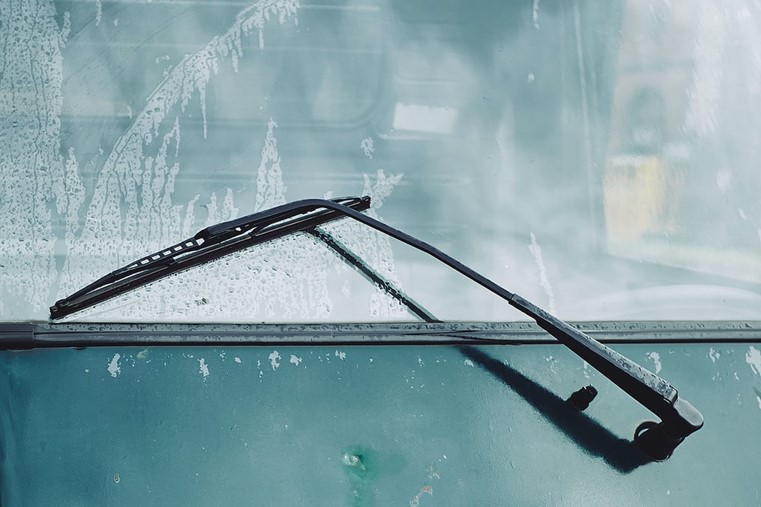
Step 6:
Don’t Forget the Windows!
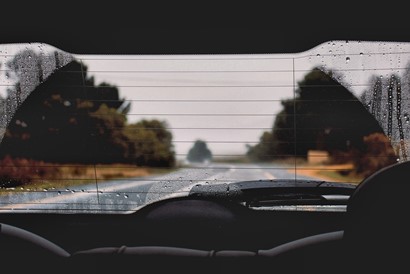
You’re
almost done! Using a glass cleaner and small microfiber cloth, wipe your windows inside and out. This step should
be done often, especially on the inside of your windshield to avoid glare from the sun on any dirt or
residue that may have settled on the inside of your windows.
Step 7: Detail
the Interior
Even if it’s just a quick clean out, the finishing touch on the ultimate
car wash is going to be detailing the interior of your vehicle. Start by
removing any garbage, and any
items that don’t belong inside the car. Take a moment to empty out the console
and glove compartment, throwing away any unnecessary paperwork or debris.
You’ll want to take a microfiber cleaning cloth
and wipe down the surface areas of your vehicle including the dashboard,
cupholders, radio, etc. Lastly, you’ll want to vacuum the carpet or floors of
your vehicle. Take it a step further by using a carpet cleaner
to wash the fabric in your flooring and seats.
Treating
your car to an ultimate car wash not only makes it look better but helps the
longevity of your vehicle’s finishes. This thorough process isn’t necessary
each time you wash your car, but you will want to wax and buff your vehicle at
least twice per year to protect your paint from the seasonal elements. To learn more about how to best
maintain your vehicle, check out the link below!